
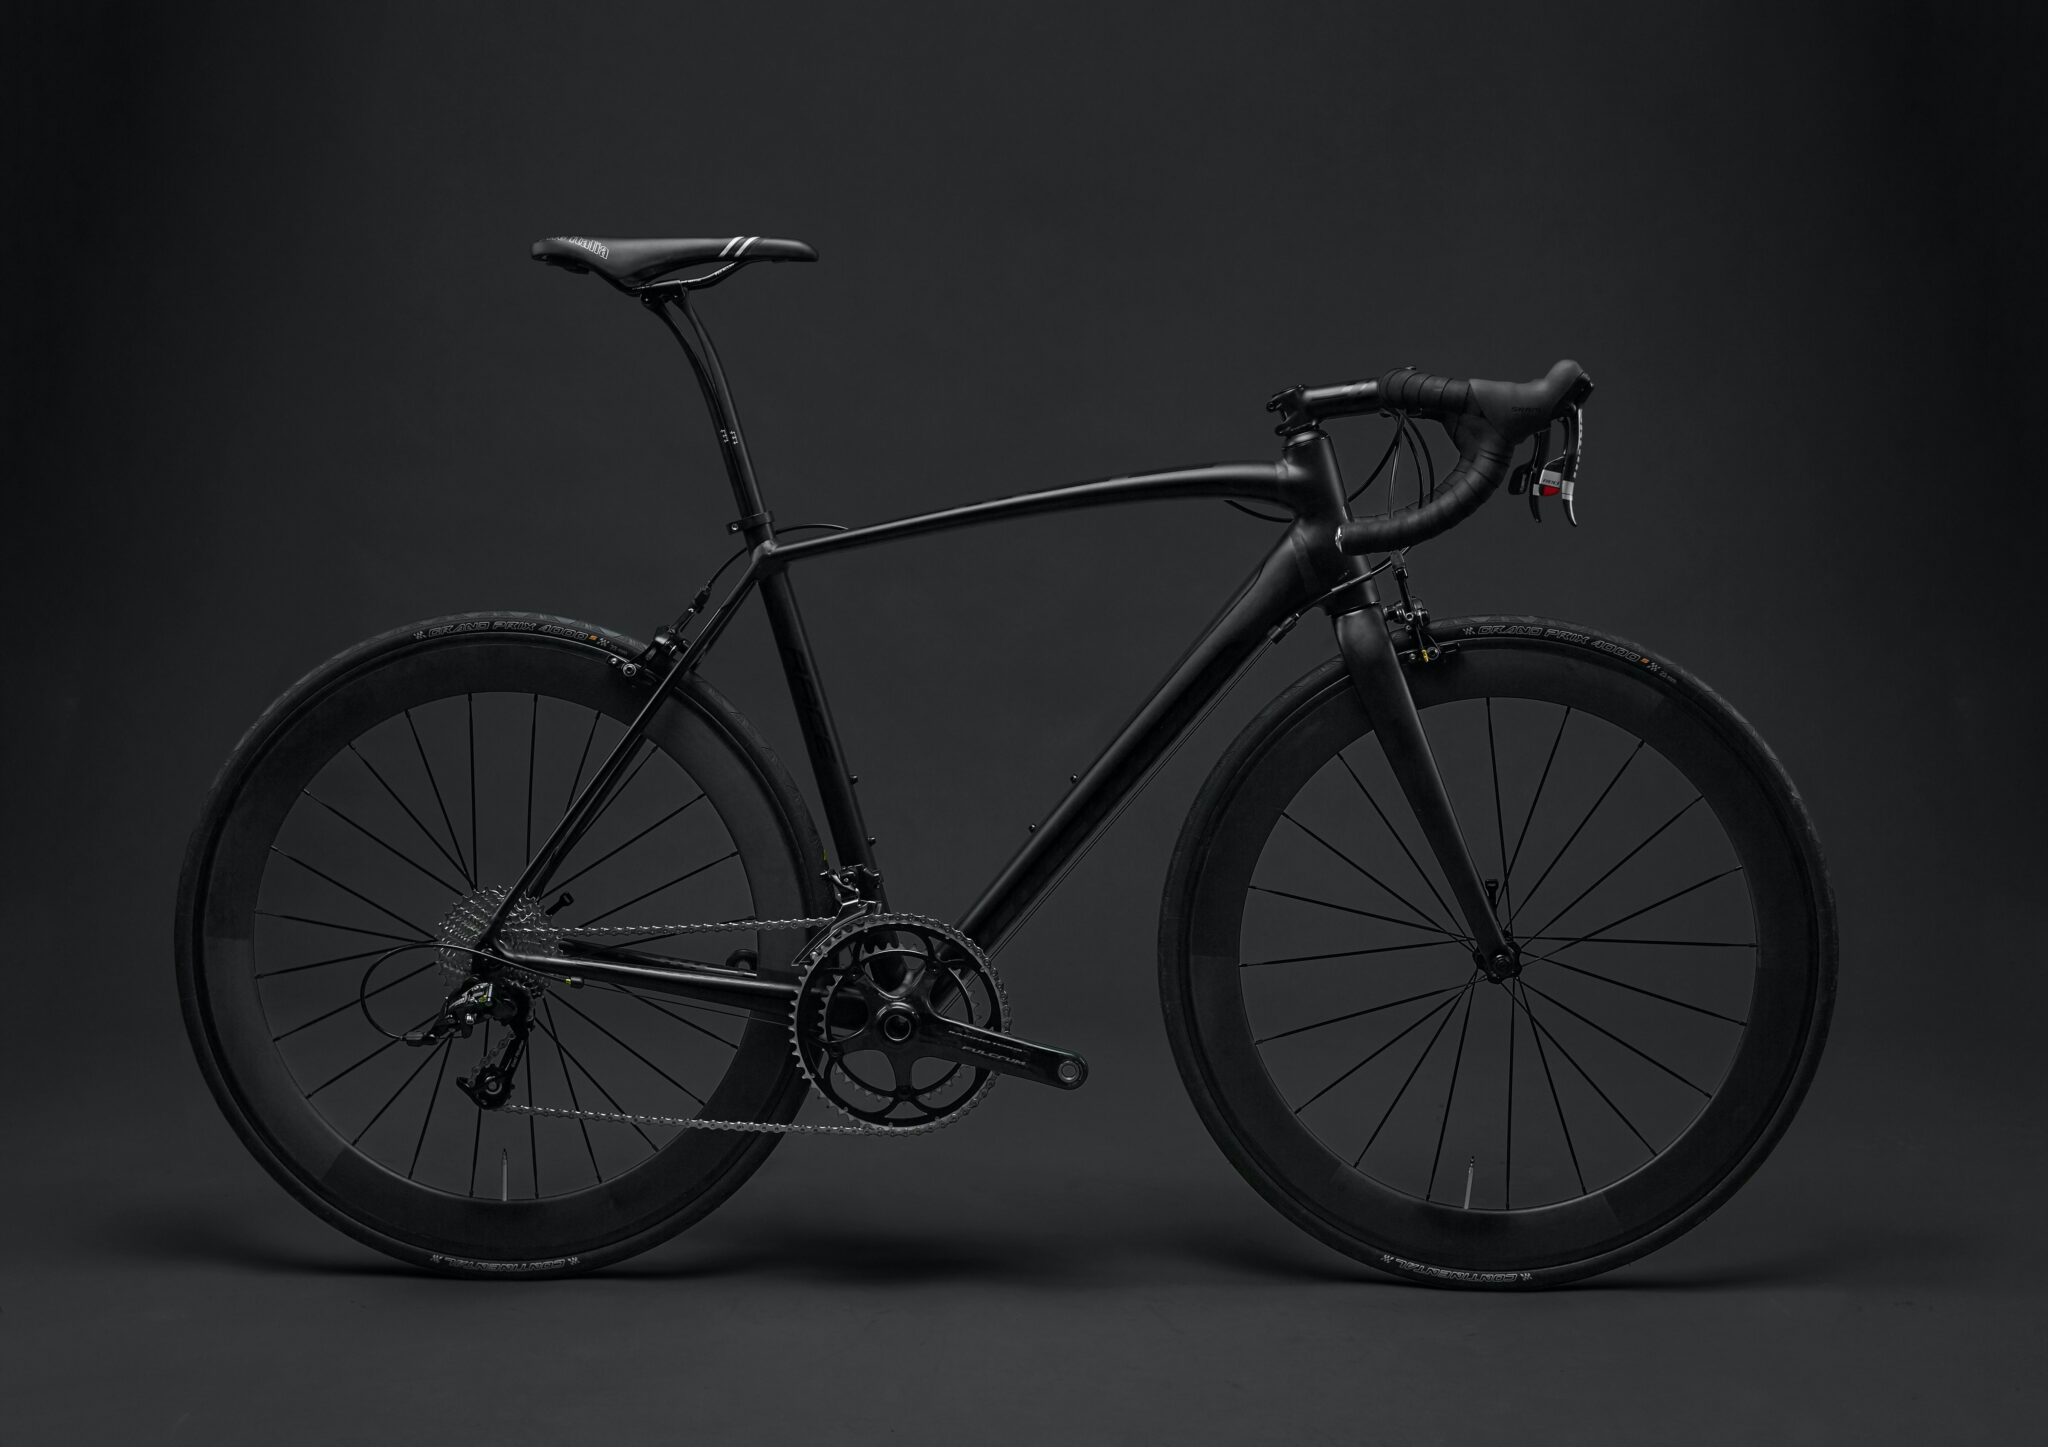
What is Packshot photography?
Product photography is a branch of commercial photography that focuses on showcasing products for catalogs, advertisements, websites and other media. When it comes to photographing a product, the main objective is to present the product in its best light, attract the attention of potential customers and convey precise information about its features.
Product photography is not simply a matter of aesthetics or creativity; it fulfils specific functions in the world of commerce, marketing and advertising. Product images play an essential role for companies and consumers alike, and their purposes are many and varied.
Clear product presentation: At the heart of product photography lies the fundamental objective of presenting a product clearly and accurately. Customers want to see what they’re buying, from different angles and in as much detail as possible.
Building trust: High-quality photography gives the impression that the product is also of high quality. By showing a product at its best, companies can build trust with consumers.
Boosting sales: Excellent product photography can be a decisive factor in a customer’s buying decision. An attractive image can encourage customers to make a purchase.
Reinforce brand identity: Images can be stylized to reflect a brand’s identity and values, helping to strengthen its market position and create an emotional bond with customers.
Providing information: Beyond aesthetics, a product photograph can also be used to provide information. Detailed images or close-ups may show specific features, textures or other important details that text descriptions may not fully capture.
Evoke a feeling or mood: By using specific sets, lighting and staging, photographers can evoke a certain mood or feeling, be it luxury, simplicity, adventure or any other concept the brand wishes to convey.
Stand out from competitors: In a saturated market, having unique and memorable product images can help a company stand out from its competitors.
Adapt to different media: Whether for a website, print ad, social media post or catalog, product photography needs to be adaptive and scalable to meet the specific requirements of each medium.
Increase engagement: Particularly on social media platforms, beautiful product photography can increase engagement in the form of likes, shares and comments, increasing brand visibility.
Appropriate lighting: Lighting plays a crucial role in highlighting product details and avoiding unwanted shadows. Diffused lighting is often recommended for soft, even lighting.
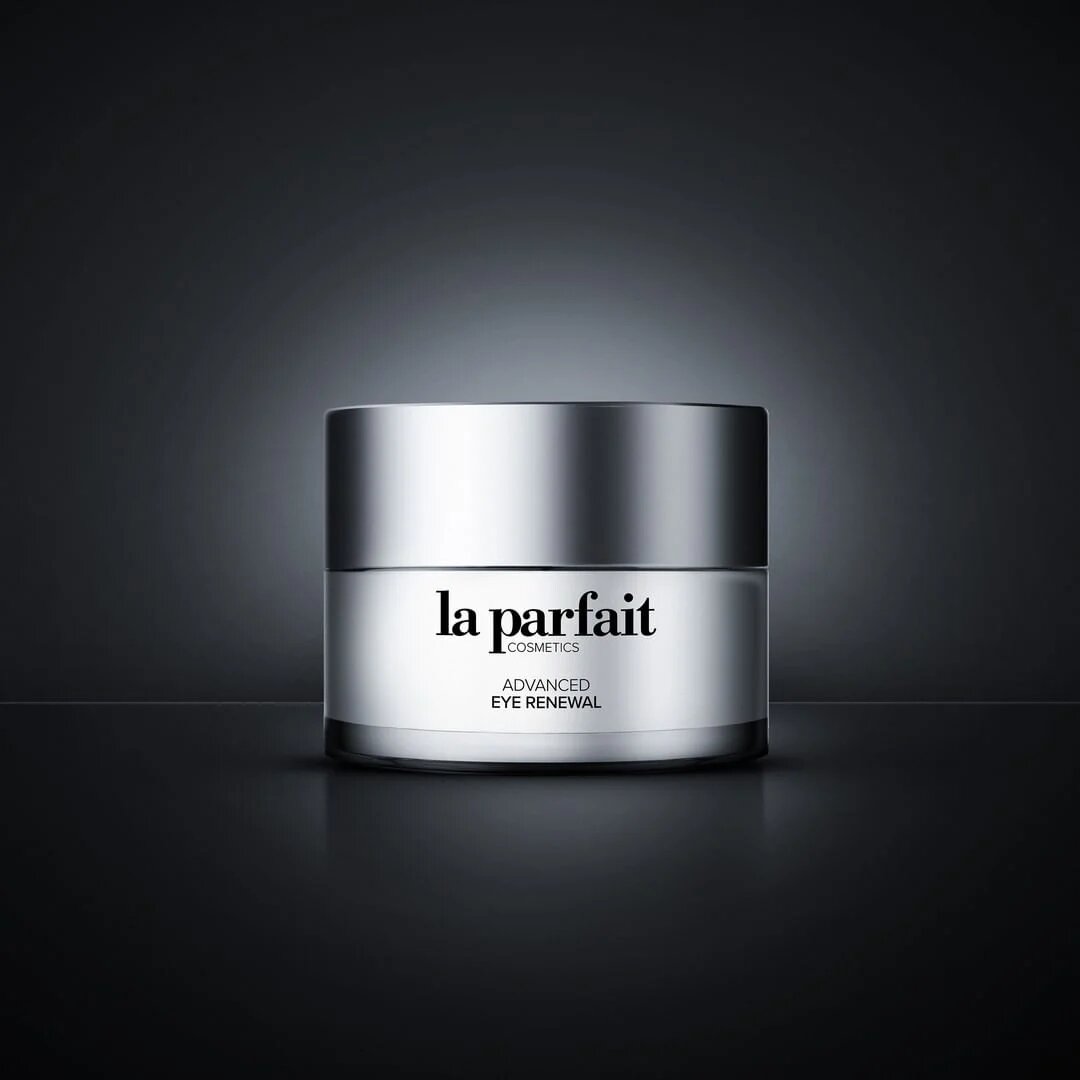
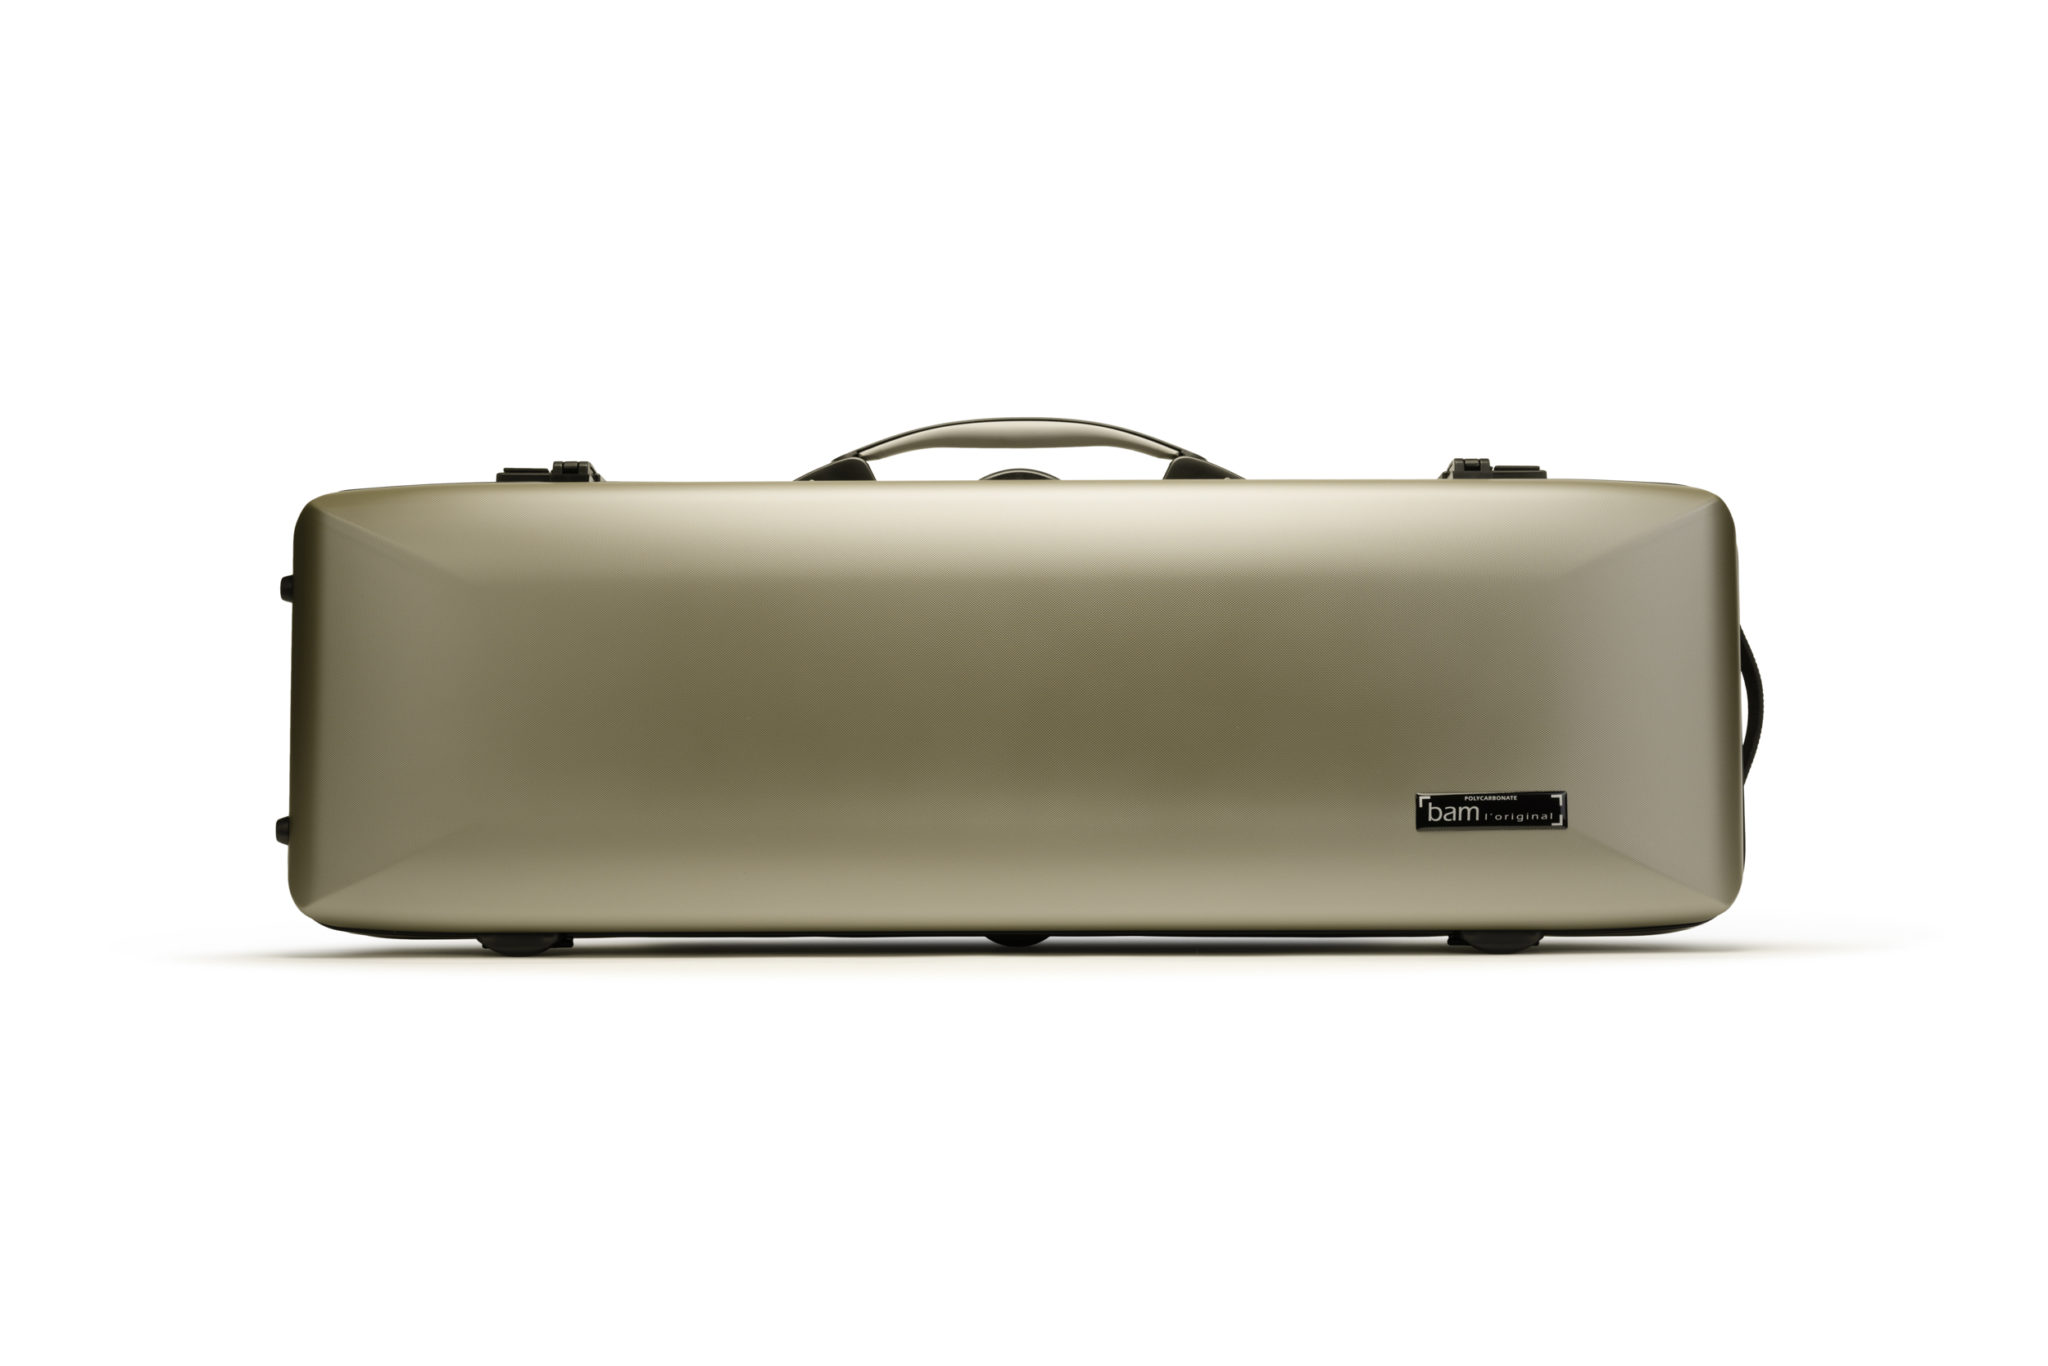
Neutral background: For many products, a white or neutral background is preferred, as it allows the product to be the focal point without distractions.
High resolution: Product images must be sharp and in high resolution to allow customers to zoom in and see product details.
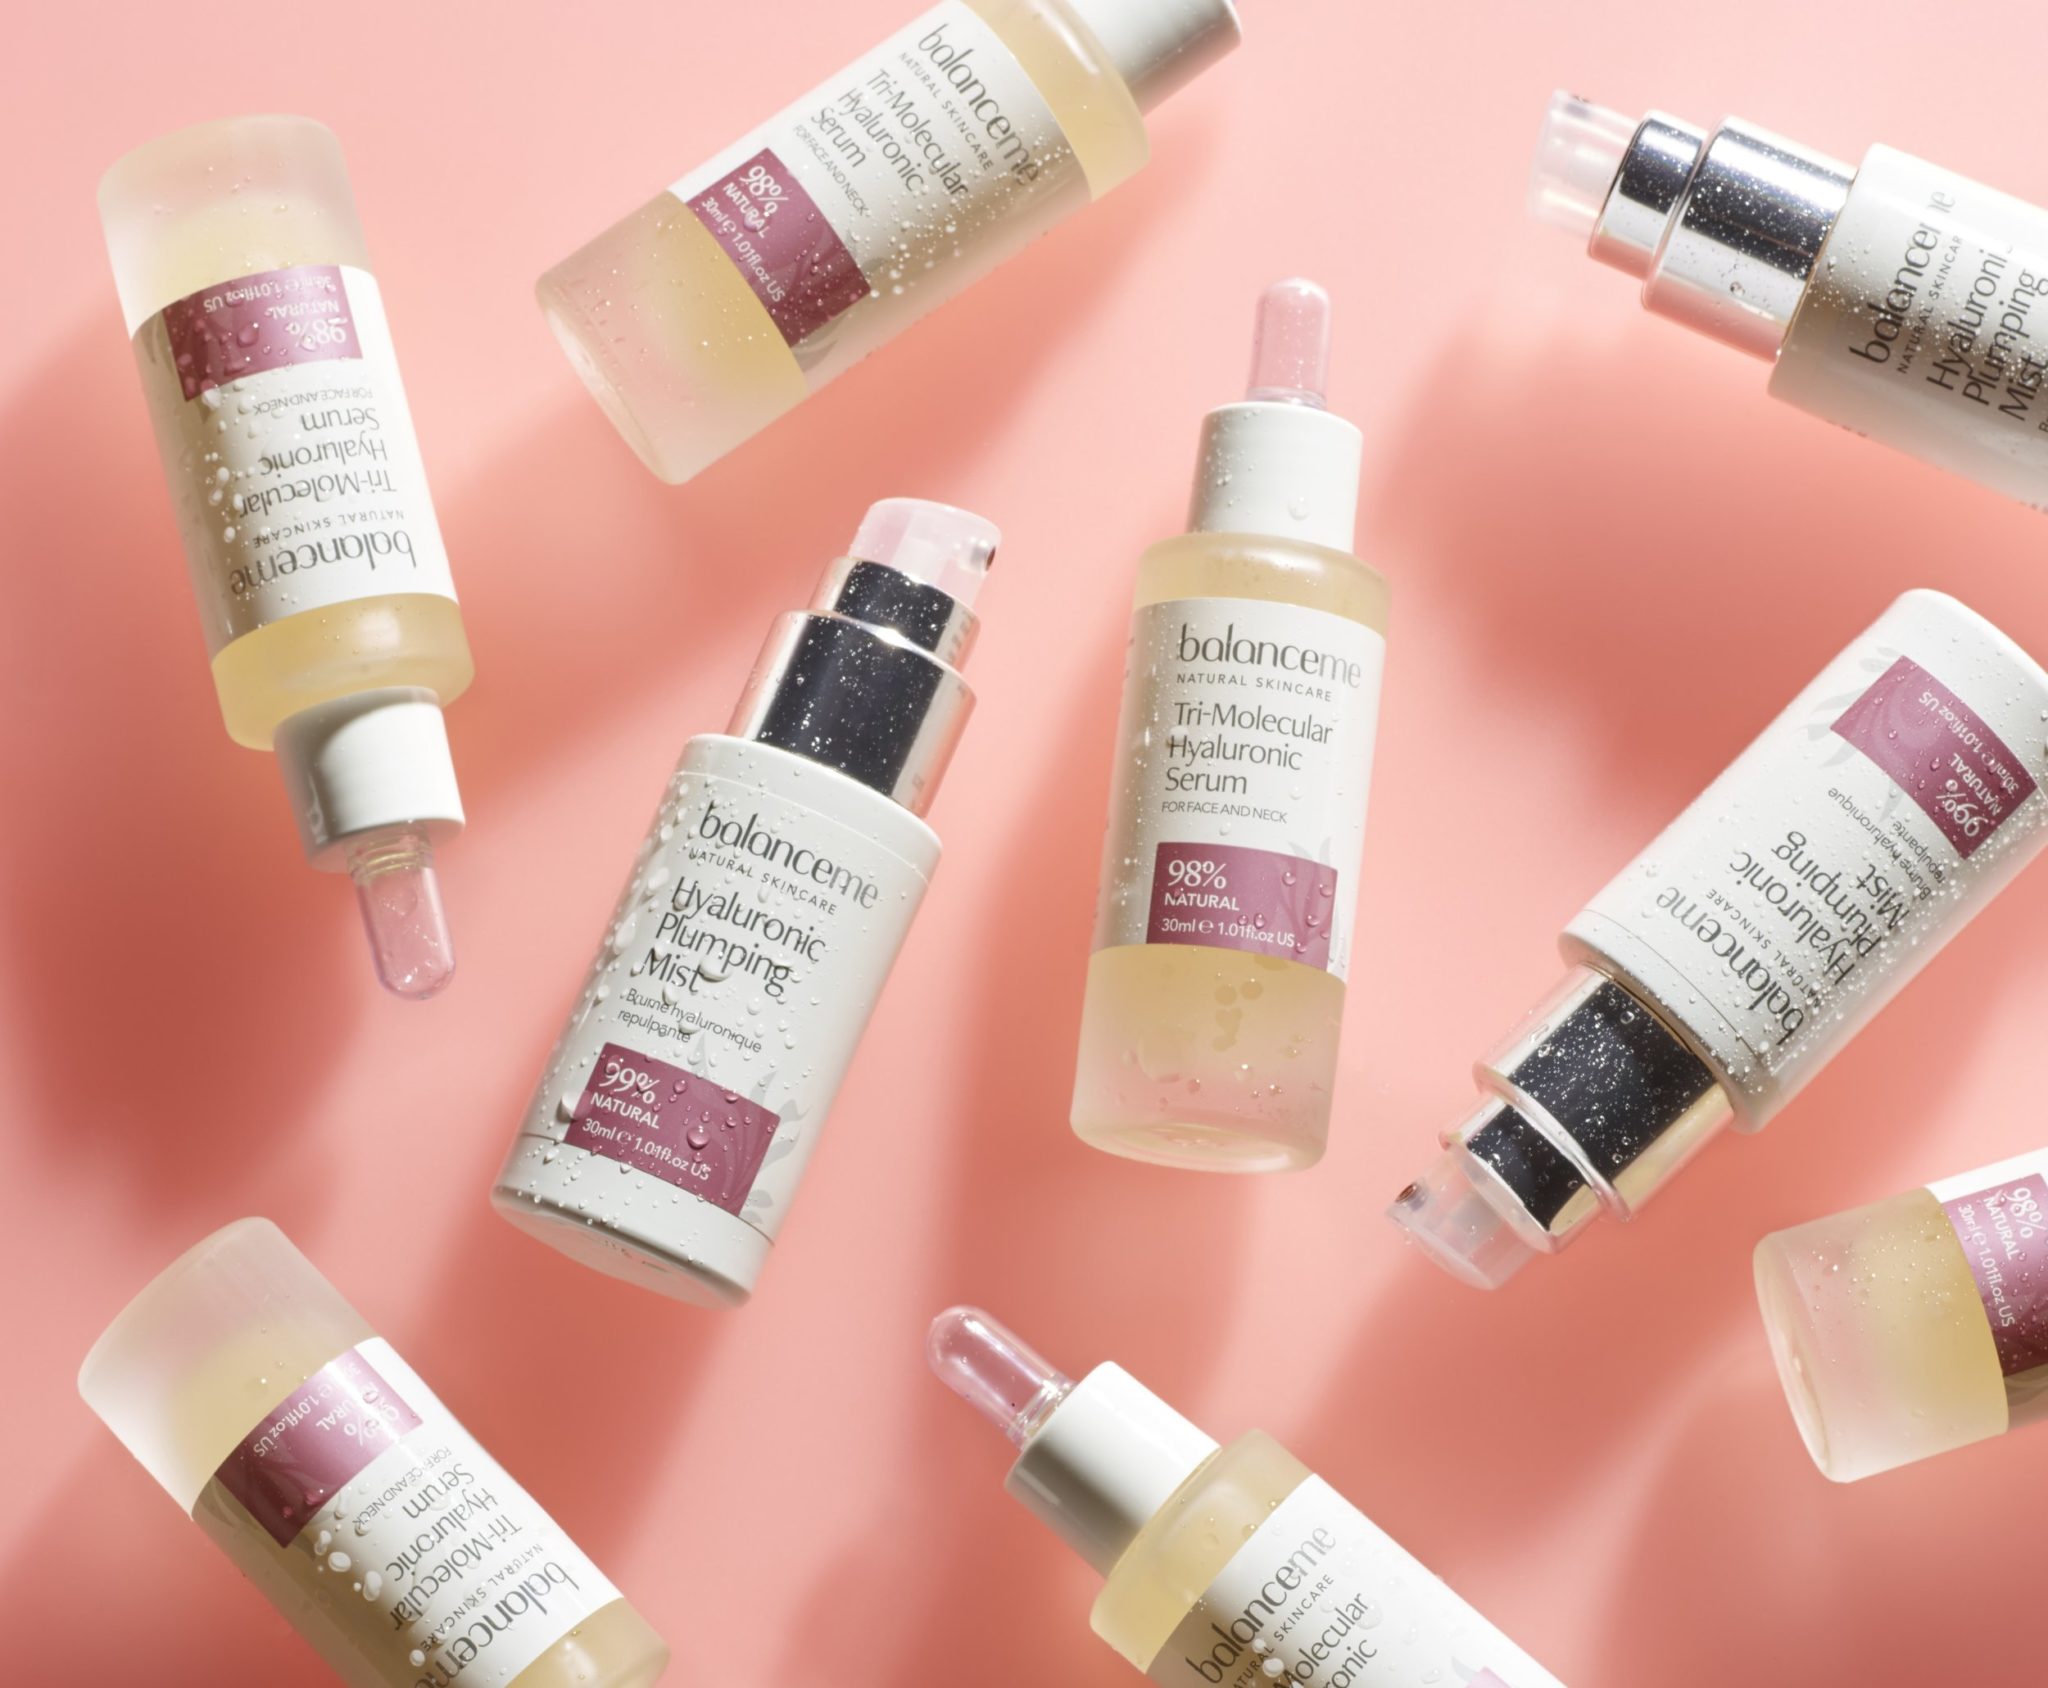
Multiple angles: Present the product from different angles to give customers the full picture. This can include front, side, back and sometimes 360-degree views.
Staging: In some cases, it makes sense to stage the product in a relevant environment to show how it is used, or to evoke a particular feeling.
Post-production editing: Retouch images to correct imperfections, adjust brightness, contrast and saturation, and ensure a faithful representation of the product.
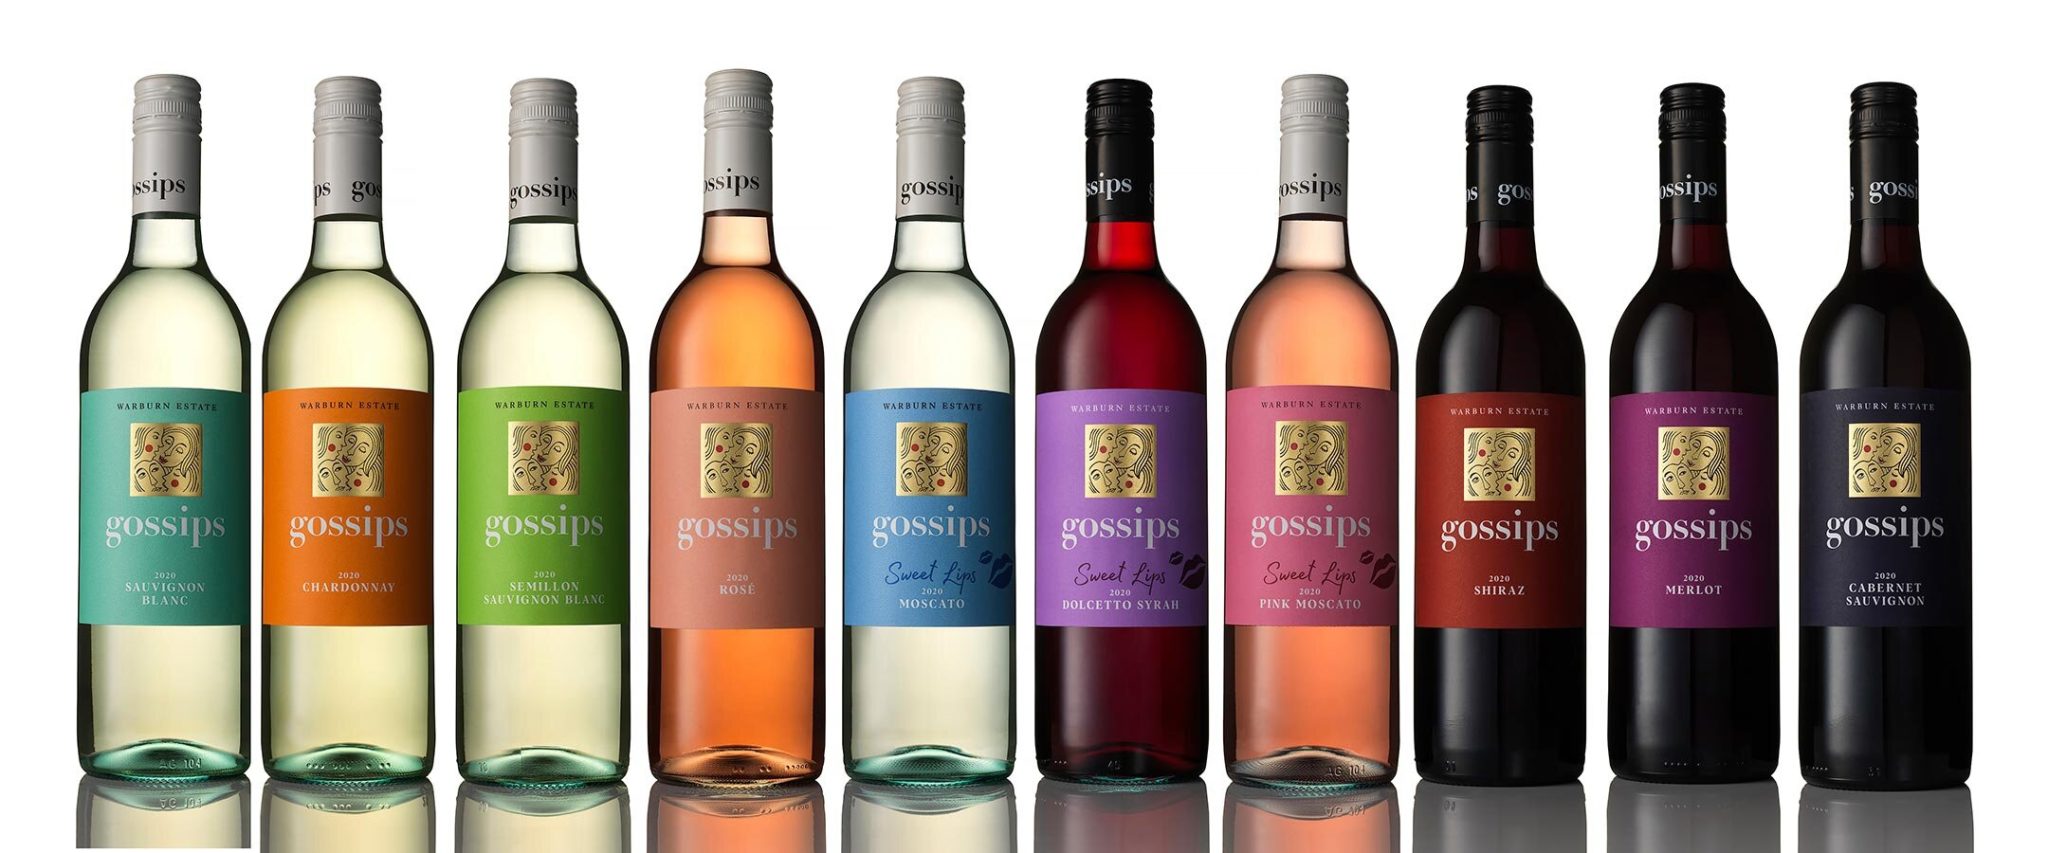
Consistency: If you’re photographing a series of products, make sure they’re presented consistently in terms of lighting, angle and layout.
Relevant information: If the photograph is used for a catalog or website, be sure to include information such as dimensions, materials and other product features.
Avoid distortion: Use appropriate lenses and avoid angles that could distort the product’s true appearance.
Follow brand guidelines: If you work for a specific brand, be sure to follow their guidelines or specifications for the
product photography
.
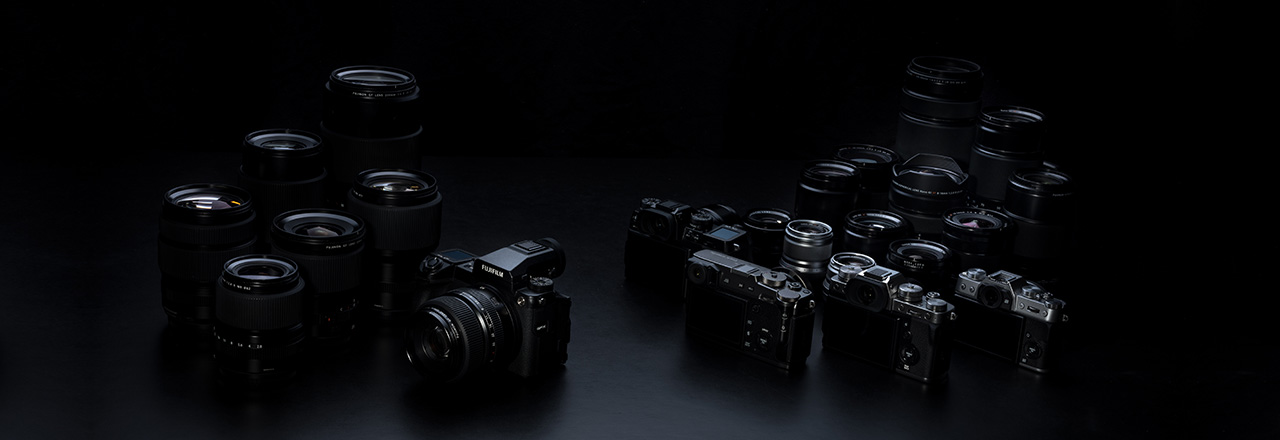
DSLR Full format
Full-format DSLR cameras are often favored for packshot photography because of their large sensor size. They offer :
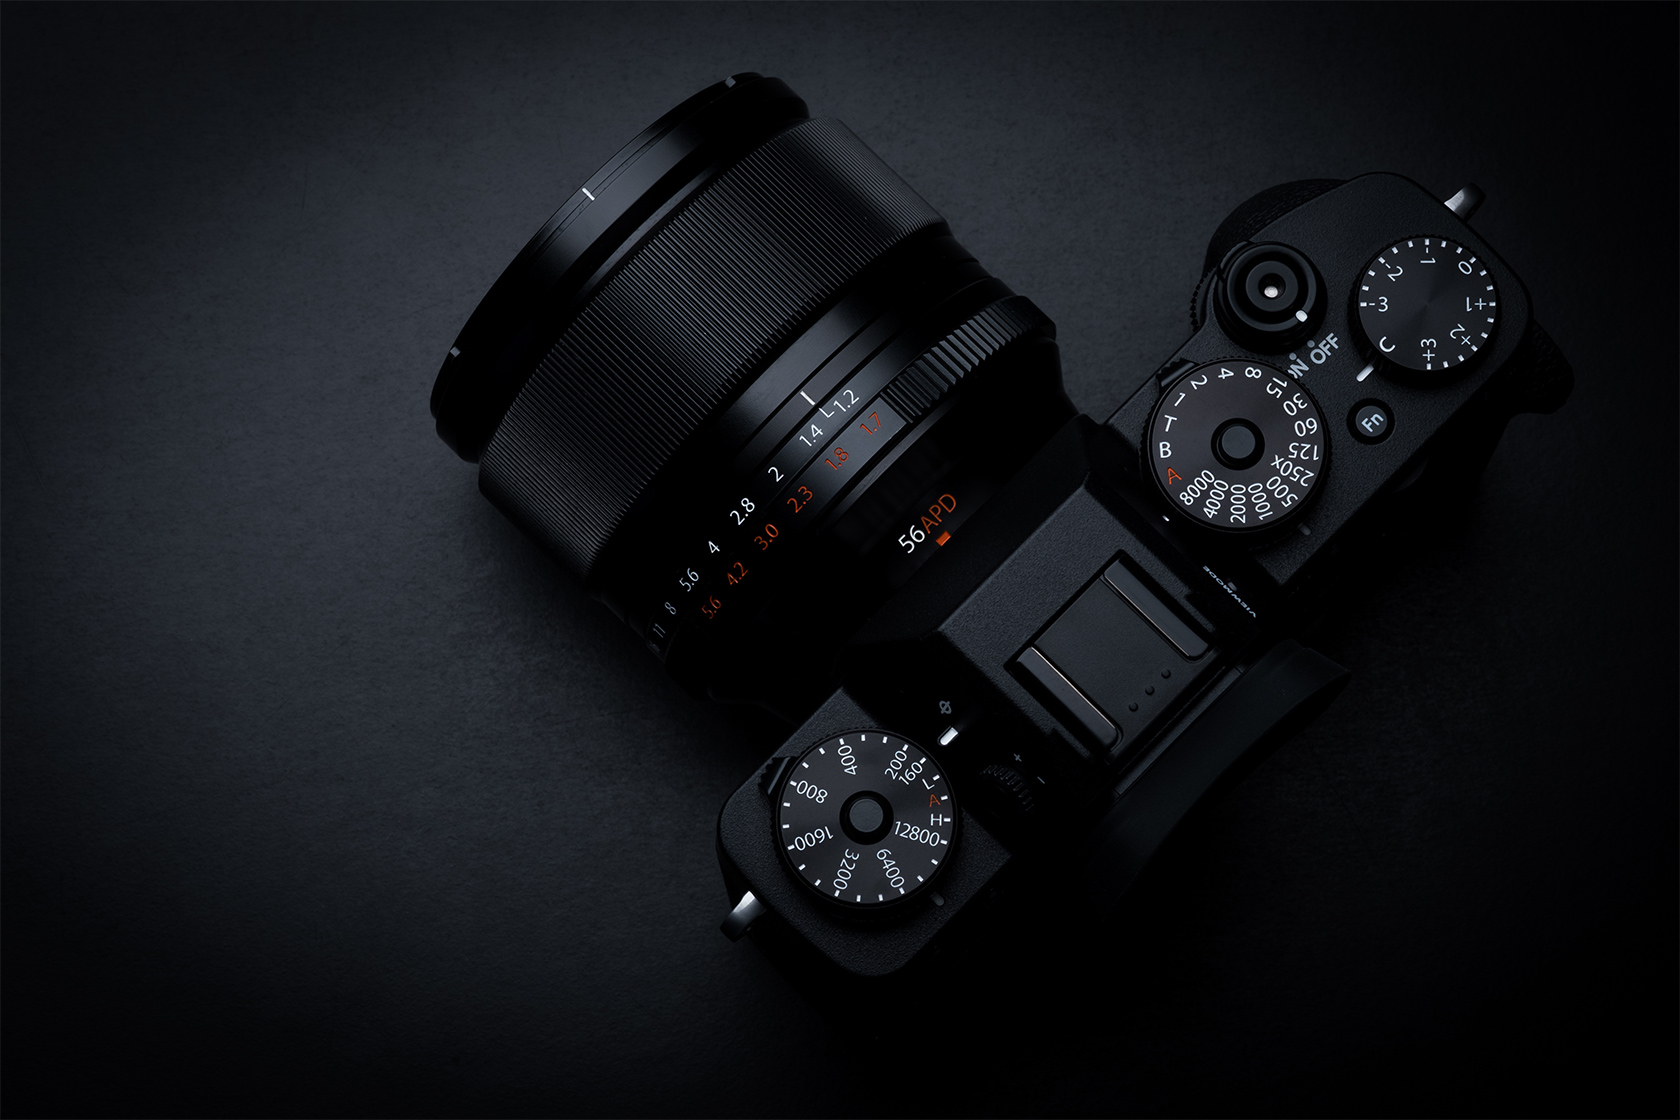
Mirrorless cameras
These devices, which are more recent on the market, offer several advantages:
Medium-format cameras
For those looking for even higher resolution and superior image quality, medium-format cameras are an option to consider. They offer :
Micro 4/3 cameras
Although they have smaller sensors, some photographers prefer these cameras for their versatility:
When it comes to packshot photography, the choice of lens can be just as crucial as the choice of camera. The lens influences not only image quality, but also how the product is perceived by the viewer. Understanding the nuances of different types of lenses and their uses can help you promote a product effectively.
The focal length of a lens determines its angle of view, and therefore how a product is presented in space. For packshot photography, we often recommend the use of medium to long focal length lenses. These lenses, often between 50mm and 100mm, have the advantage of reproducing the product more naturally and without noticeable distortion. They help focus attention on the product, while offering enough flexibility to incorporate contextual elements if necessary.
Product photography demands impeccable sharpness. Details, textures and colors must be captured with precision. High-end lenses designed for studio photography generally offer excellent edge-to-edge sharpness. What’s more, lenses with a large maximum aperture can offer a shallow depth of field, allowing the product to stand out from the background.
Macro lenses are specifically designed to capture small objects at close range. For smaller products, or when you want to highlight specific details, these lenses are invaluable. They offer a 1:1 reproduction ratio, meaning that the product can be captured at actual size on the camera sensor.
Zoom vs. fixed-focus lenses
While zoom lenses offer undeniable versatility, making it possible to cover a range of focal lengths with a single lens, they can sometimes compromise image quality in favor of this flexibility. Fixed-focus lenses, on the other hand, are designed to operate at a specific focal length. They often offer superior image quality, larger maximum aperture and better sharpness.
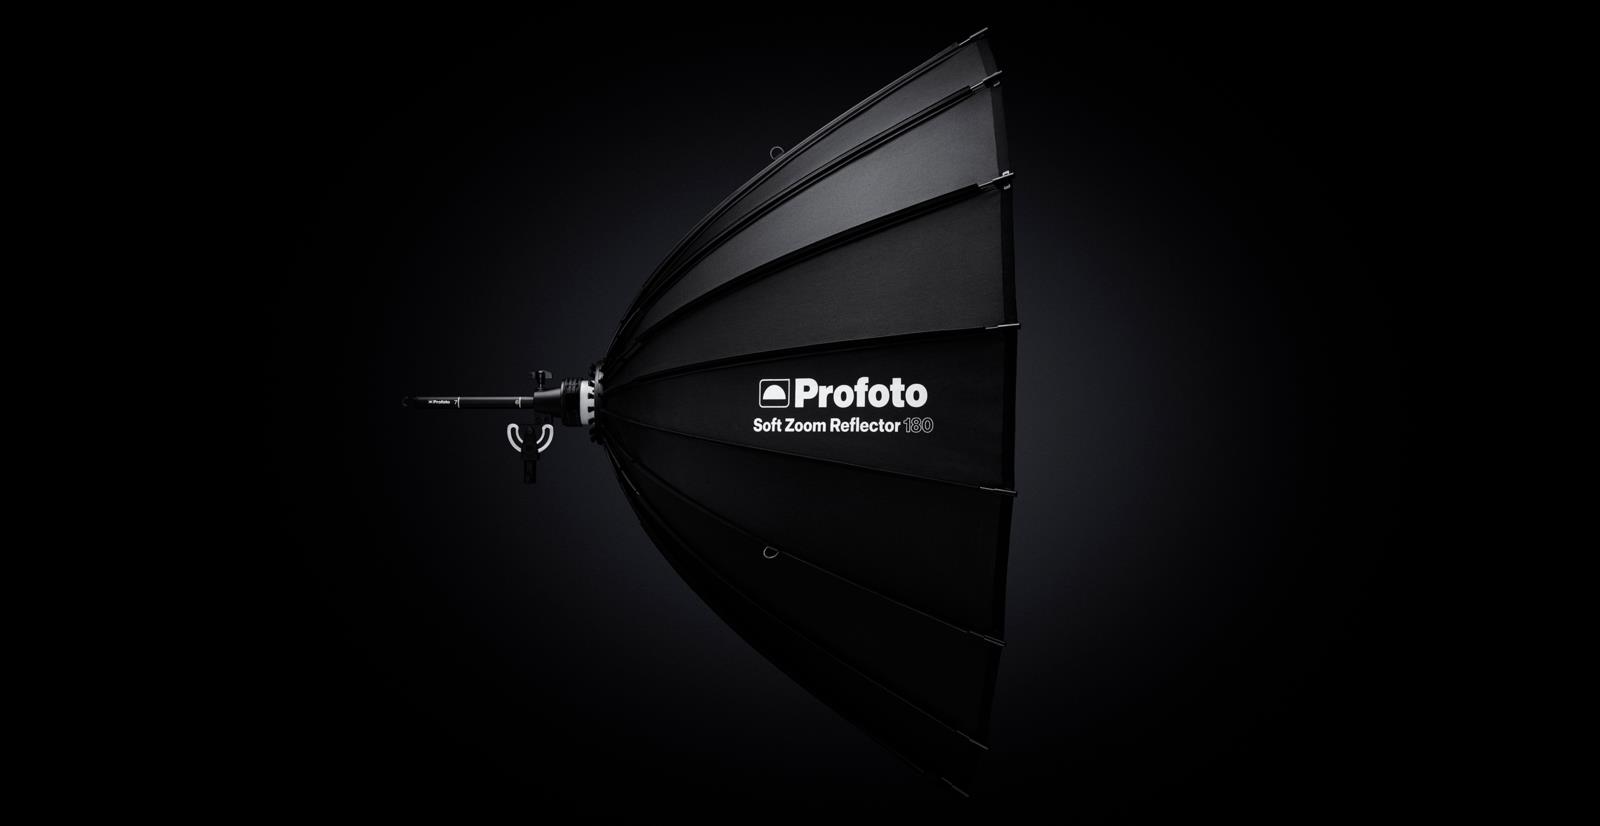
Lighting in productphotography is a central element that brings the object to life, sculpting its shape and revealing its details. Soft, diffused light is often the key to successful lighting. It minimizes harsh shadows and reflections while providing a uniform finish to the product’s surface. For this, diffusers, umbrellas or softboxes are essential. They transform intense, direct light into a softer, more spread-out light, ideal for product photography.
The three-point lighting technique is a staple of studio photography. It comprises a main light, generally positioned at a 45-degree angle to the product, which defines its size and shape. A fill light on the other side of the camera balances the shadows. Finally, a backlight placed behind the product adds depth and relief to the overall effect. Reflectors, meanwhile, are useful for redirecting light towards shadowy areas, ensuring balanced illumination throughout the product.
The challenges multiply when photographing products with shiny or reflective surfaces, such as jewelry. For these objects, light tents are a solution for enveloping the product in homogeneous light. In addition, the creative use of colored gels can add a unique dimension to the image, evoking a mood or highlighting specific aspects of the product. In short, although it takes practice, careful lighting transforms and magnifies the product, making it irresistible to the eye of the beholder.
A front view, for example, provides a direct representation of the product, highlighting its design and key features. It’s a perspective that works particularly well on objects such as books and smartphones.
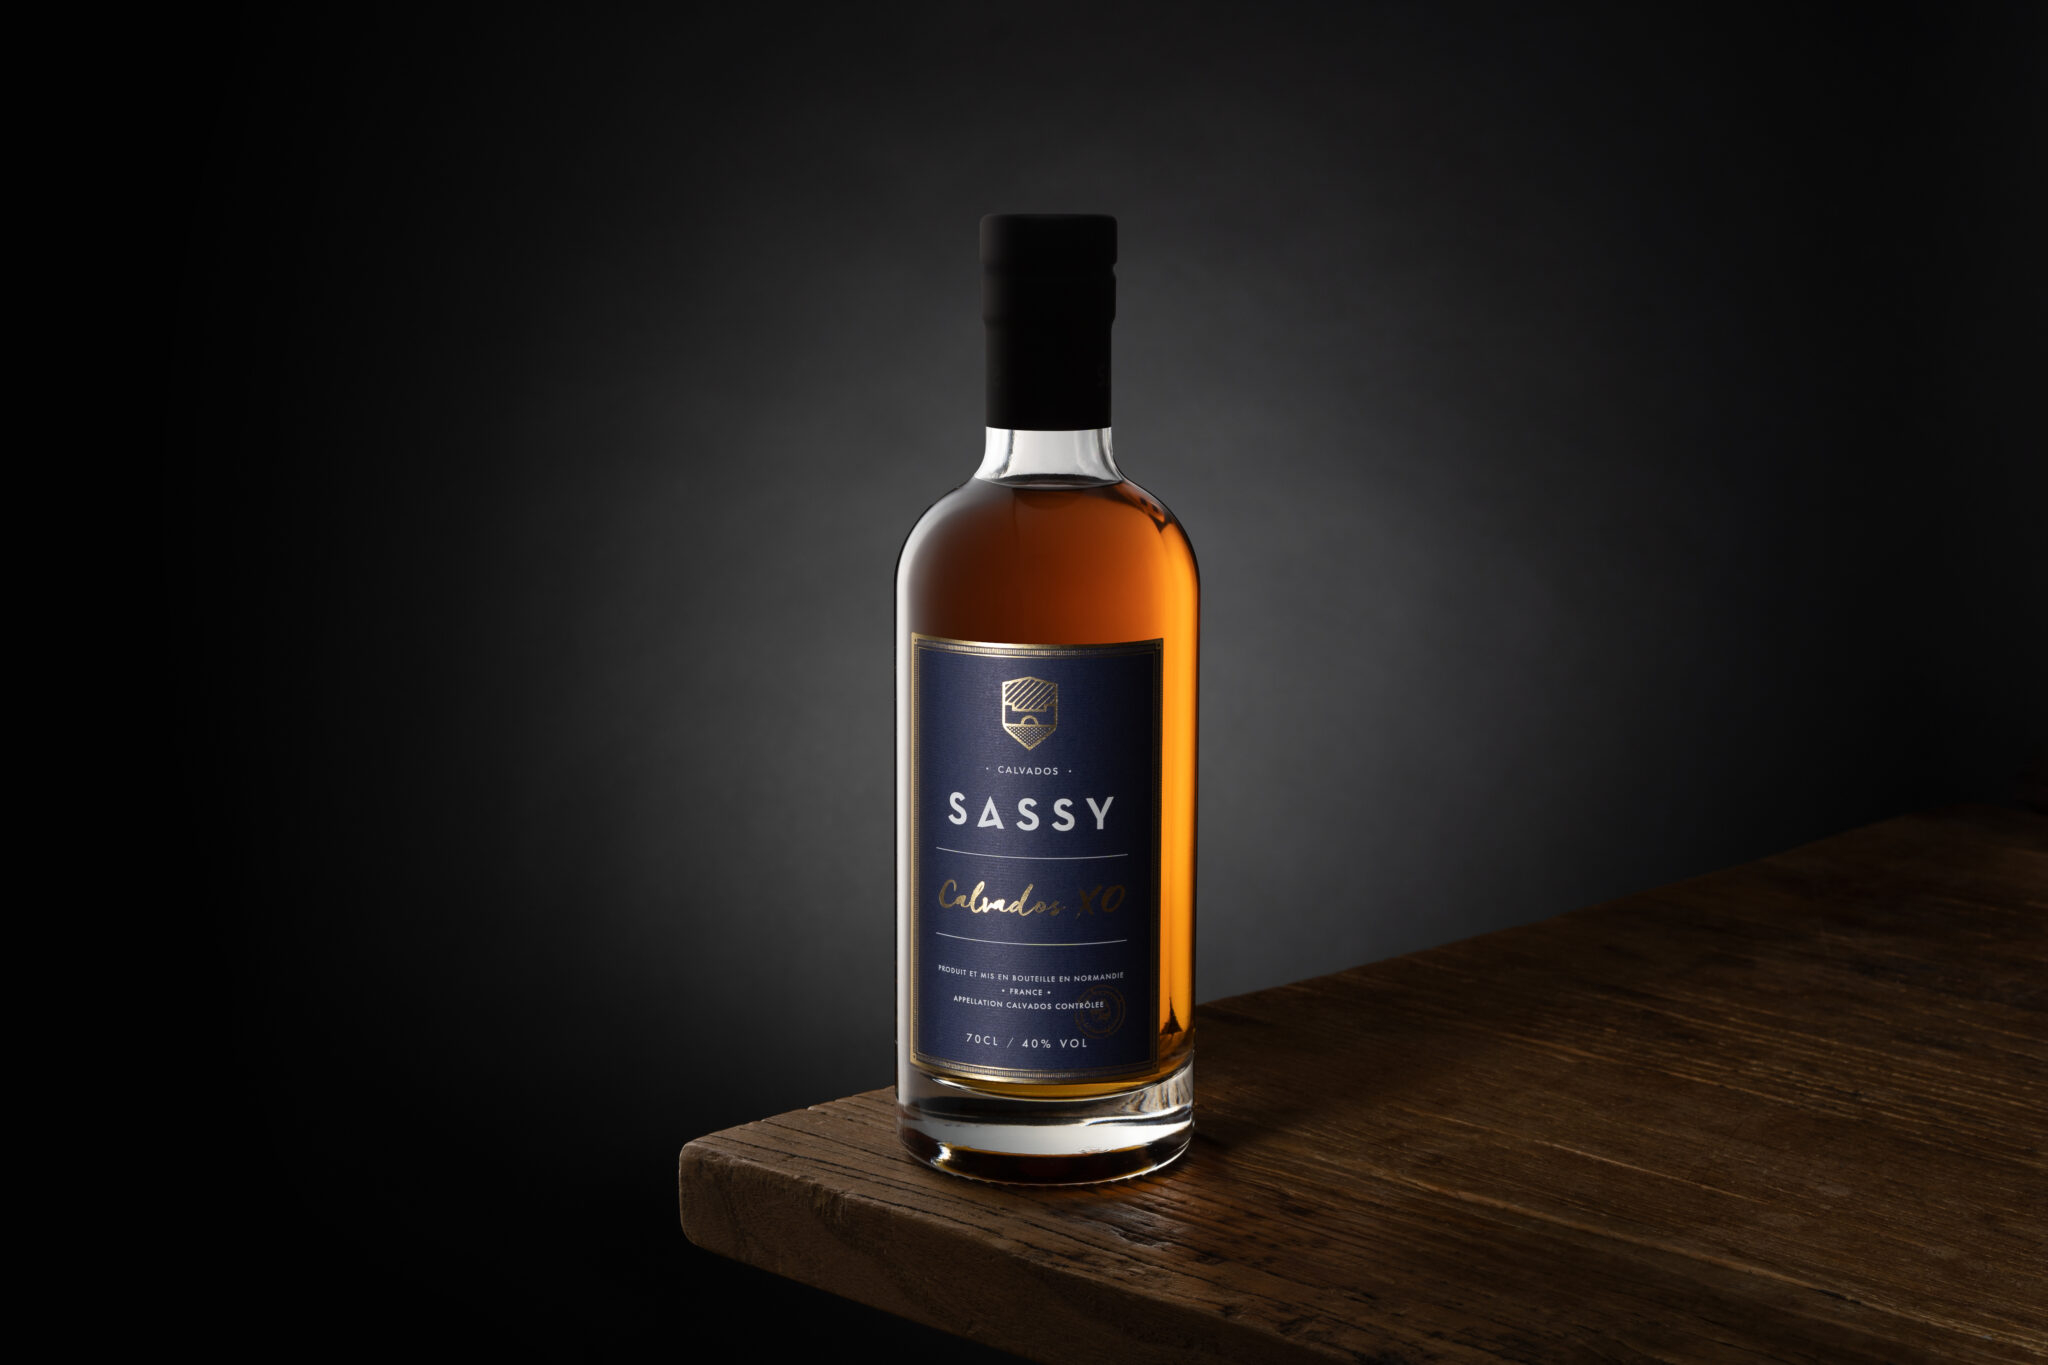
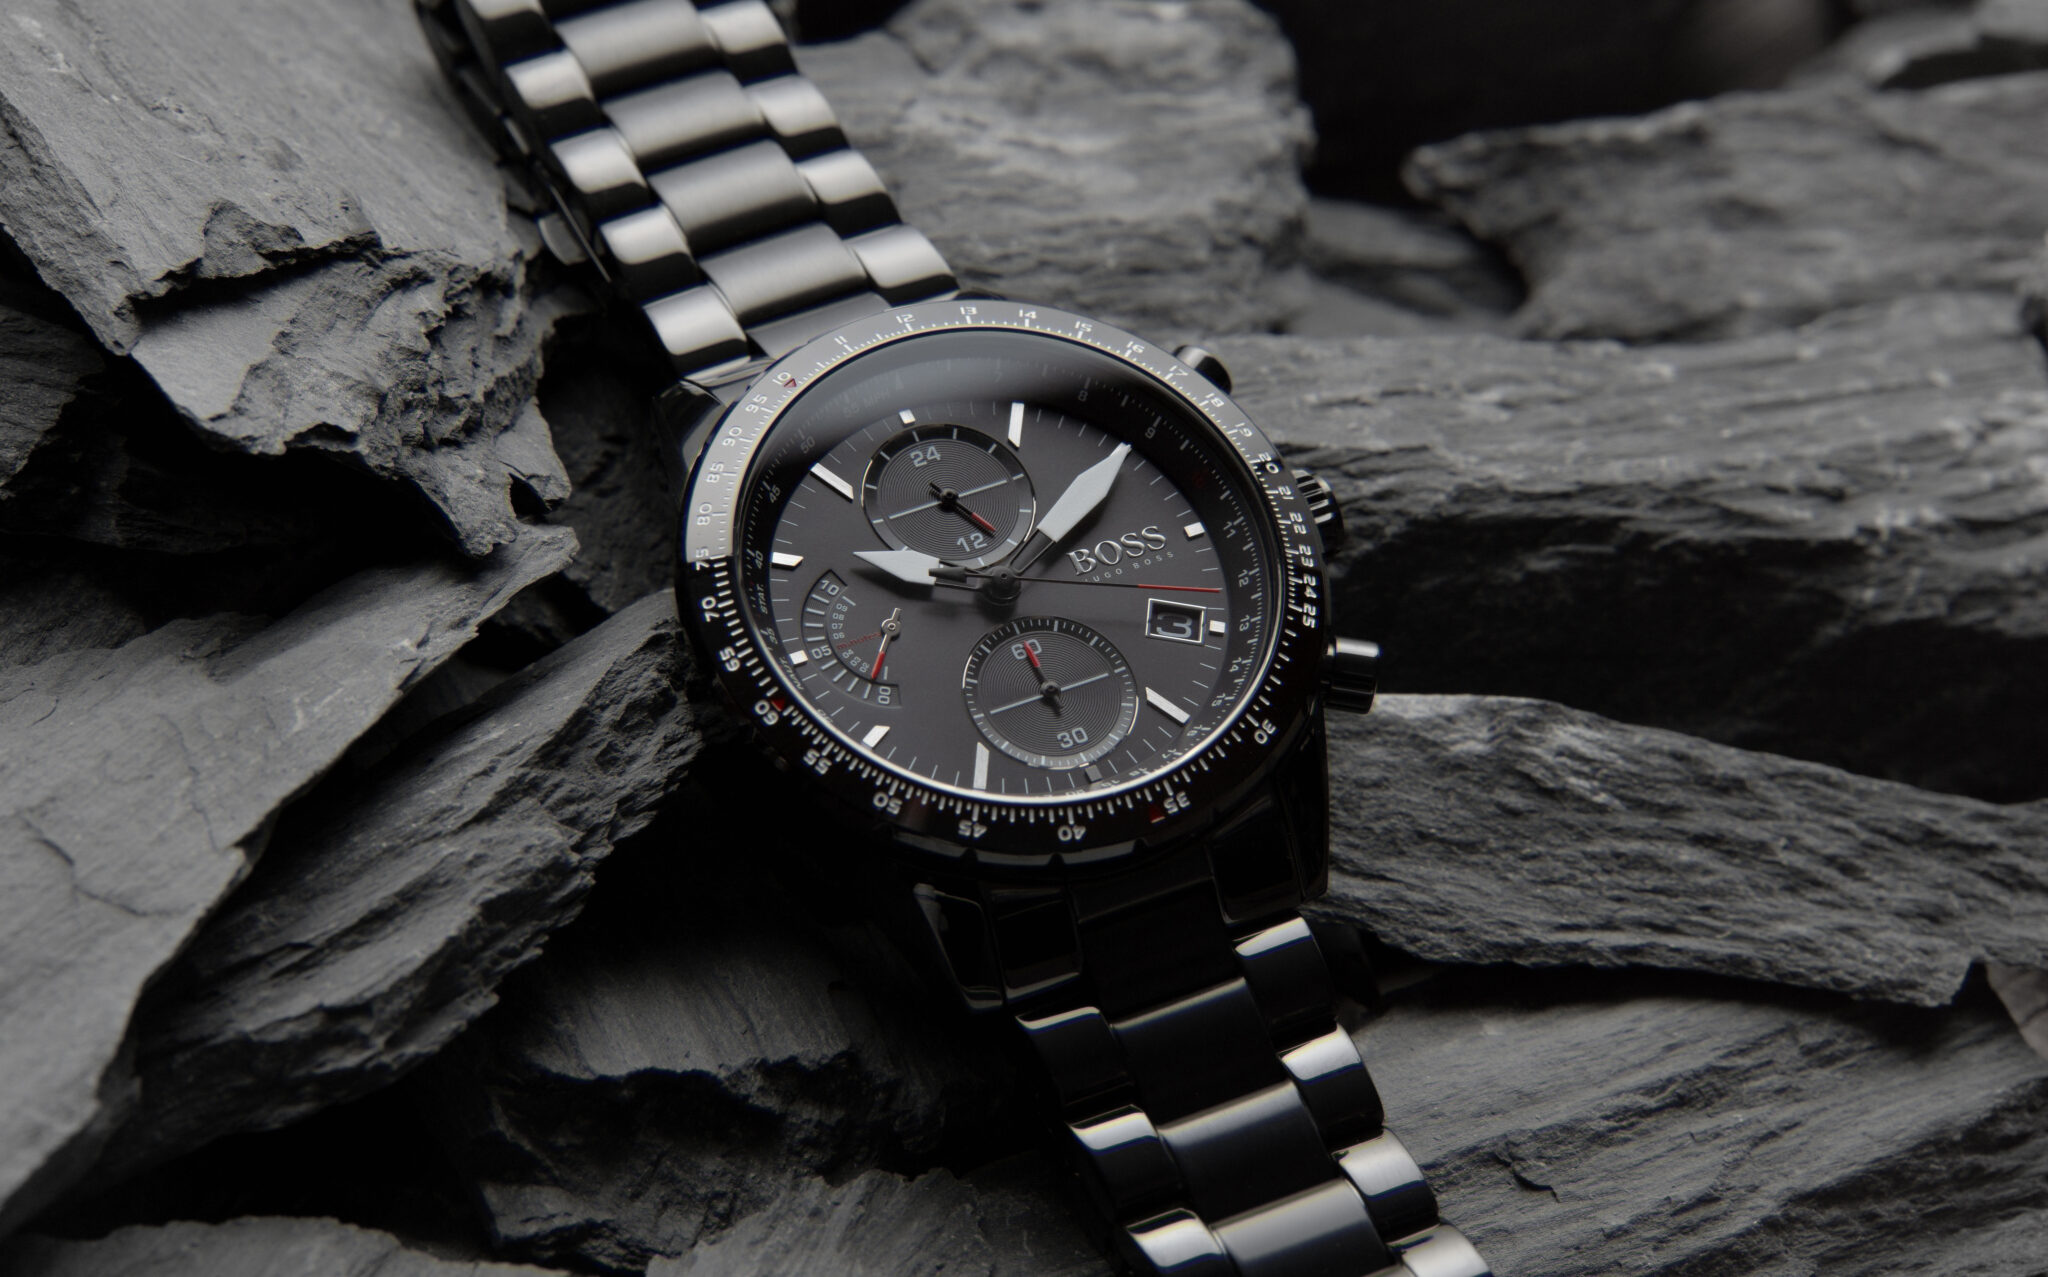
On the other hand, for products that need to be viewed as a whole, such as shoes or food, a bird’s-eye view from above may be ideal. It offers a complete view of the product while creating a sense of intimacy. The three-quarter angle adds dynamism and depth to the image. It is particularly effective for presenting items such as handbags or watches, showing several facets of the product simultaneously. Similarly, the side view highlights the depth and silhouette of objects such as bottles.
There are also less traditional angles, such as the low angle, which, although less commonly used, can lend a sense of majesty to a product. Ultimately, the choice of angle depends on the product itself, its characteristics and the story the photographer wants to tell. The key is to experiment and find the perfect balance for each object to be immortalized.
Post-production in photography is a meticulous process that transforms a simple shot into a work of art. After transferring the photos from the memory card to the computer, and saving them on an external medium, the photographer sets about the task of sorting them. Software such as Lightroom or Photoshop are particularly useful for selecting the best images from the multitude.
Once this selection has been made, basic corrections such as exposure, contrast or white balance adjustments are made. More specific retouching follows: this can range from the correction of imperfections to the elimination of unwanted elements, or the accentuation of object details. Color calibration plays a vital role, ensuring that the image’s hues match the photographer’s vision or reality. Cropping optimizes image composition, while sharpening and cleaning techniques improve sharpness and reduce digital noise.
Finally, once all these retouching steps have been completed, the images are ready to be exported in the appropriate format, whether for web use, printing or archiving. Post-production, although sometimes perceived as tedious, is essential to reveal the full potential of a photograph.
A front view, for example, offers a direct representation of the product, highlighting its design and key features. It’s a perspective that works particularly well on objects such as books and smartphones.
On the other hand, for products that need to be viewed in their entirety, such as shoes or food, a bird’s-eye view from above may be ideal. It offers a complete view of the product while creating a sense of intimacy. The three-quarter angle adds dynamism and depth to the image. It is particularly effective for presenting items such as handbags or watches, showing several facets of the product simultaneously. Similarly, the side view highlights the depth and silhouette of objects such as bottles.
There are also less traditional angles, such as the low angle, which, although less commonly used, can lend a sense of majesty to a product. Ultimately, the choice of angle depends on the product itself, its characteristics and the story the photographer wants to tell. The key is to experiment and find the perfect balance for each object to be immortalized.
Post-production in photography is a meticulous process that transforms a simple shot into a work of art. After transferring the photos from the memory card to the computer, and saving them on an external medium, the photographer sets about the task of sorting them. Software such as Lightroom or Photoshop are particularly useful for selecting the best images from the multitude.
Once this selection has been made, basic corrections such as exposure, contrast or white balance adjustments are made. More specific retouching follows: this can range from the correction of imperfections to the elimination of unwanted elements, or the accentuation of object details. Color calibration plays a vital role, ensuring that the image’s hues match the photographer’s vision or reality. Cropping optimizes image composition, while sharpening and cleaning techniques improve sharpness and reduce digital noise.
Finally, once all these retouching steps have been completed, the images are ready to be exported in the appropriate format, whether for web use, printing or archiving. Post-production, although sometimes perceived as tedious, is essential to reveal the full potential of a photograph.

Packshot photography, by capturing the essence of a product in an image, is an invaluable tool for marketing and promotion. It doesn’t just represent an object, but tells a story, evokes an emotion and creates a desire. Every detail, from the lighting to the shooting angle, right through to the final retouching in post-production, is meticulously orchestrated to produce an image that not only informs, but also seduces. Ultimately, the mastery of packshot photography is a testament to the perfect harmony between art and business strategy.